I made both of these this week and realized that I've made a lot of subtle changes that aren't reflected in the original recipe. And so...
My Oven-Fried Buttermilk Chicken has benefited from experimenting with chicken legs in addition to thighs, and I finally upped the cooking time since my original 45 minutes was ridiculous--it always takes me at least an hour on the first side. I don't know what I was thinking!
Our favorite pasta dish is this Rigatoni Alla Bolognese Bianco, and I've improved it by doubling all of the vegetables (after realizing I was chasing every mushroom and carrot around the plate), adding ground beef or ground turkey, reducing the half & half a bit, and upping the pasta amount. It's making my mouth water just thinking about it, and we just had it! Fantastic for leftovers, too.
Comaburgers are even more outrageous when topped with pimento cheese. I also adjusted the portions here, because with all of the toppings a quarter pound burger made more sense.
Eat up!

Recipes and food chatter from a girl with too much time on her hands.
Showing posts with label Disappearances. Show all posts
Showing posts with label Disappearances. Show all posts
Tuesday, September 11, 2007


Thursday, March 01, 2007

Tuesday, January 23, 2007
My favorite explanations...
...for my prolonged absence:
I fell into quicksand.
I've given up cooking altogether.
I hate you all.
I no longer can taste food and am living in a cave.
I'm dead.
But my favorite is:
I'm still at the beach.
Oh, how I wish!

But really, it's nothing so exciting or tragic. I just got...busy. That's a lame excuse, but a valid one. After all, when someone that starts a blog called "The Unemployed Cook" starts being more and more employed, well, the blog is going to suffer.
And also I guess I needed a break. As good as it is to have an outlet, I was feeling more and more pressured to produce content for this wee site. And eventually it was easier to ignore than to put the effort into.
And so, I'm not making any sort of "I'm back" proclamations. BUT, I have been cooking like crazy, and the magazine I write for has given me permission to post my reviews once the current month has passed. I hate New Year's resolutions, but nevertheless, I'm hoping to post at least once a week. After all, I have so much to talk about.
Like Christmas...

Or pickles:

Or divine Country Cookin':

I mean, that's the very tip of a melting iceberg. Happy New Year.
I fell into quicksand.
I've given up cooking altogether.
I hate you all.
I no longer can taste food and am living in a cave.
I'm dead.
But my favorite is:
I'm still at the beach.
Oh, how I wish!

But really, it's nothing so exciting or tragic. I just got...busy. That's a lame excuse, but a valid one. After all, when someone that starts a blog called "The Unemployed Cook" starts being more and more employed, well, the blog is going to suffer.
And also I guess I needed a break. As good as it is to have an outlet, I was feeling more and more pressured to produce content for this wee site. And eventually it was easier to ignore than to put the effort into.
And so, I'm not making any sort of "I'm back" proclamations. BUT, I have been cooking like crazy, and the magazine I write for has given me permission to post my reviews once the current month has passed. I hate New Year's resolutions, but nevertheless, I'm hoping to post at least once a week. After all, I have so much to talk about.
Like Christmas...

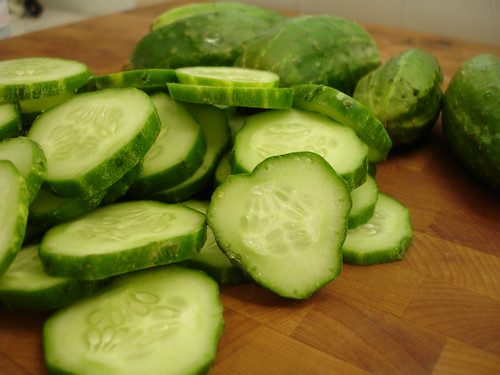
Or pickles:
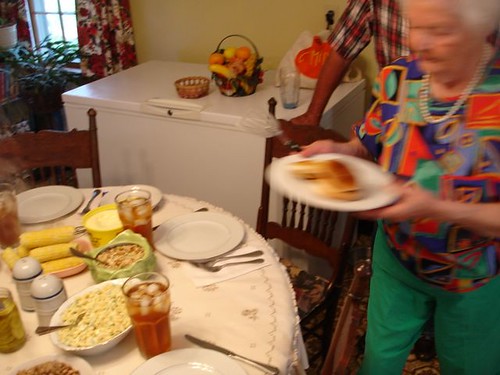
Or divine Country Cookin':
I mean, that's the very tip of a melting iceberg. Happy New Year.
Wednesday, November 22, 2006
I'm off!
Chris and I are headed down to the beach, where we plan to have lobster instead of turkey. Yesss. I hope all of you have happy, healthy, and delicious Thanksgivings!
Monday, July 31, 2006
Roasted Zucchini Soup with Fried Shallots
You know what, Blogger? You and me? We are officially in a fight. You see, I've had people on my case for not posting enough, yet I've been trying to upload pictures for this recipe for DAYS. Days! This? Is ridiculous.
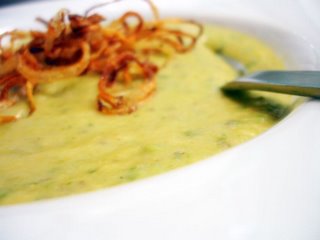
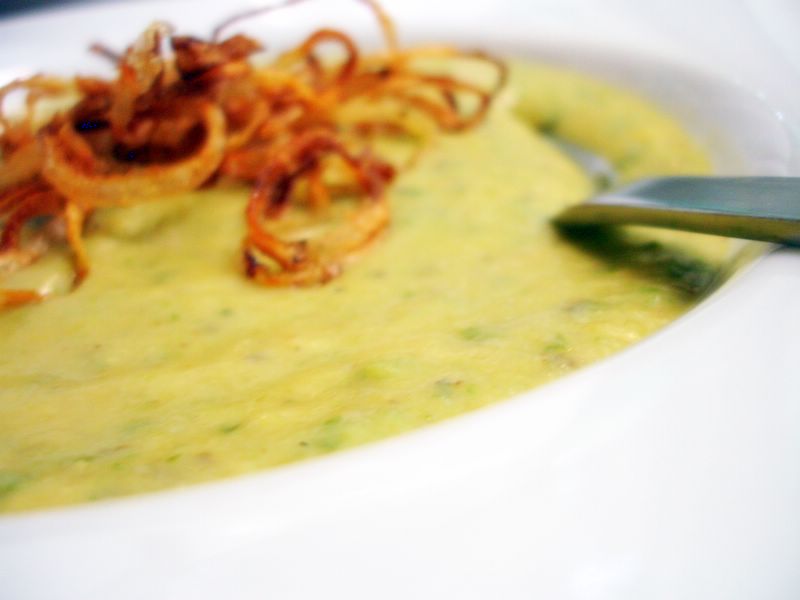
And so, with one triumphant picture loaded, I'm posting. This is a great soup that will use up any zucchinis that are taking over your garden or given to you by overburdened friends. It's best served at room temperature, but you can certainly chill it if the heat is beating you down. I like it at a thicker consistency than some of you might, just adjust the stock or half & half as you wish. Also, you'll see that the measurements are far from precise--just wing it and feel proud when you are later slurping down this savory sweet soup with its satisfyingly crunchy garnish.
Roasted Zucchini Soup with Fried Shallots
for the shallots:
3-4 shallots, peeled and sliced very thinly
peanut oil
Heat about an inch of peanut oil over medium-high heat in a small, heavy pot. Fry the shallots in batches, being careful to not overload the pot or they will stick, until a deep golden brown. Drain on paper towels.
For the soup:
4-5 medium zucchini
half & half
chicken stock (or any broth)
sea salt
freshly ground pepper
olive oil
Preheat oven to 450 degrees. Cube the zucchini roughly and toss generously in olive oil, salt, and pepper. Roast until caramelized on the edges and very soft--you want it softer than you would if eating it on its own.
Dump the zucchini into a food processor and pulse a few times until pretty mushy. Now you can get creative--add stock and continue processing until as smooth and thin as you like. Add some half & half (you could use cream or even whole milk instead) in at the end and pulse again to combine. Taste and adjust for seasoning--I like it simple, but you could add any number of spices at this point.
Ladle into a shallow bowl and top with a generous amount of the fried shallots. I recommend eating this whilst cursing your blog publishing program. It soothes the pain in a most satisfying manner.
And so, with one triumphant picture loaded, I'm posting. This is a great soup that will use up any zucchinis that are taking over your garden or given to you by overburdened friends. It's best served at room temperature, but you can certainly chill it if the heat is beating you down. I like it at a thicker consistency than some of you might, just adjust the stock or half & half as you wish. Also, you'll see that the measurements are far from precise--just wing it and feel proud when you are later slurping down this savory sweet soup with its satisfyingly crunchy garnish.
Roasted Zucchini Soup with Fried Shallots
for the shallots:
3-4 shallots, peeled and sliced very thinly
peanut oil
Heat about an inch of peanut oil over medium-high heat in a small, heavy pot. Fry the shallots in batches, being careful to not overload the pot or they will stick, until a deep golden brown. Drain on paper towels.
For the soup:
4-5 medium zucchini
half & half
chicken stock (or any broth)
sea salt
freshly ground pepper
olive oil
Preheat oven to 450 degrees. Cube the zucchini roughly and toss generously in olive oil, salt, and pepper. Roast until caramelized on the edges and very soft--you want it softer than you would if eating it on its own.
Dump the zucchini into a food processor and pulse a few times until pretty mushy. Now you can get creative--add stock and continue processing until as smooth and thin as you like. Add some half & half (you could use cream or even whole milk instead) in at the end and pulse again to combine. Taste and adjust for seasoning--I like it simple, but you could add any number of spices at this point.
Ladle into a shallow bowl and top with a generous amount of the fried shallots. I recommend eating this whilst cursing your blog publishing program. It soothes the pain in a most satisfying manner.
Monday, June 05, 2006
Mixed Berry Tarts (and no excuses)
I'm just going to avert my eyes and jump right into the recipe, because I can't handle your accusing stares right now. I'm sorry! But I'm not here to make excuses. Look, shiny pretty tart:
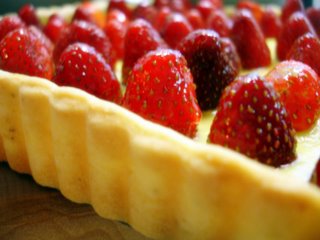
Now, since I wrote last I have finally acquired a food processor, and my life in the kitchen has honestly changed. I used it twice the day I bought it, and have used it multiple times a week since then. The best thing about it, so far, is the improvement my pie crusts have seen. People, I have made the perfect pie crust. And lo, it is good.
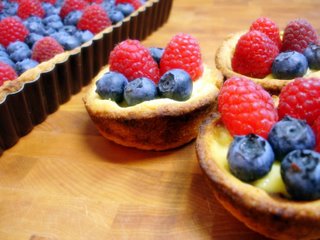
Along with the fancy food processor I picked up an adorable square tart pan and some exceedingly good vanilla beans. The tart pan inspired some sort of tart mania that has resulted in some very rich creations, and what appears to be a budding pot belly. I've had to take up swimming just to counter the Tart Problem.
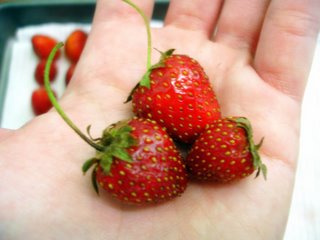
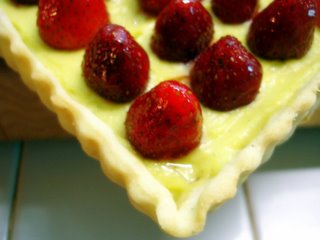
The whole reason I was inspired to get on this tart kick was because of these tiny strawberries. I defy anyone that likes strawberries to not freak out a little upon seeing these fingernail-sized specimens. I made my first stab at pastry cream (good, but too thick and gummy in texture), and attempted a pie crust idea that lived in my wee noggin. The crust was fine, it wasn't exactly tender and tasted more like cornbread than I preferred, but it was serviceable and didn't reduce me to tears. Altogether the tart was well received and eaten in approximately 11 minutes by our friends.
But I was not satisfied!
And so, I tried again. This time, I took the pie crust idea in my head and merged it with a recipe from this month's issue of Fine Cooking. The result was magnificent--flaky and crisp with this almost buttermilk flavor that made me swoon. The pastry cream was perfect, too--firm enough to hold up to slicing, but delightfully rich and oozy (and boozy, for that matter). I am still perfecting the measurements for my ground breaking "less fat" chocolate ganache, so you can either use your own recipe or skip it all together. You really can't go wrong.
When I test out a new recipe on people (the first at a Memorial Day party, the second at a gathering of Knoxville food bloggers), I always make some miniatures so that I can test things and make sure they are not poison. For these sweet babies I cut out circles of dough with a large drinking glass and carefully lined a muffin tin with them. To weigh down the crust, you can use a muffin liner and pie weights (I use rice) to good effect. You can make this gorgeous tart with any combination of seasonal berries.
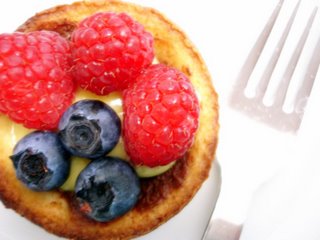
Mixed Berry Tart
with thanks to Fine Cooking magazine
for the crust:
1.75 cups all-purpose flour
2 Tbsp cornmeal
12 Tbsp chilled butter, cut into chunks
1 egg, beaten
2 Tbsp sugar
1 Tbsp milk
2 tsp lemon juice
pinch salt (if you use salted butter, do not add salt)
In a food processor, combine all ingredients and pulse until the dough has begun to form big clumps (you want to go past the pea sized clumps and really incorporate the dough). Roll out a large piece of cling wrap and carefully dump the dough out onto it--the dough will seem a little loose and dry. Using your hands, press the dough into a compact patty and chill for 15 minutes.
After removing the dough from the refrigerator, let it sit for a few minutes. You want the dough to be cool, but not so cold that it cracks when you try to roll it out. Roll out to your desired thickness and shape, and place in a tart pan.
Preheat oven to 400 degrees. Using a fork, poke some holes in the bottom of the pie crust. Carefully line the crust with aluminum foil or parchment paper, and fill with pie weights (or dried beans or rice). Bake for roughly 25 minutes, until the edges are a deep golden brown. Remove from oven and let cool on a metal rack. Be careful when removing the pie weights, they can get pretty hot.
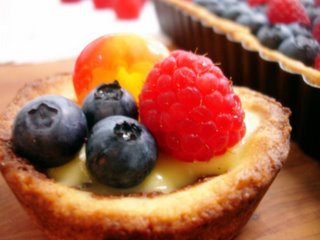
for the rum-vanilla pastry cream:
1.25 cups milk (I use 1%)
half of a vanilla bean, split down the middle
3 large egg yolks
.25 cups sugar
3 Tbsp flour
2 scant Tbsp cornstarch
1 Tbsp spiced rum (or liqueur of your choice)
Place milk and vanilla bean in a medium saucepan and bring to a low boil. While the milk is heat, whisk together the egg yolks and sugar, then add the flour and cornstarch. This mixture will be pretty thick. Once milk has reached a boil, remove from heat and remove vanilla bean. Scrape vanilla seeds out and add to egg mixture (you can use the dried vanilla pod to make vanilla sugar). Slowly temper the egg mixture by whisking in the hot milk, a few spoonfuls at a time.
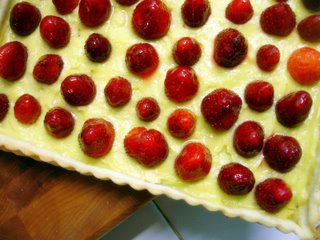
Once the milk is mixed into the egg mixture, pour back into the saucepan. Cook over medium heat, whisking constantly, until the mixture comes to a boil. It will thicken very quickly, so keep an eye on it and keep whisking. Once the mixture has thickened to a pudding-like consistency, remove from heat and whisk in your liqueur (the liqueur is optional, of course). Pour into a bowl and press cling wrap down on the cream to prevent a skin from forming. Let cool completely.
To assemble tart, spread a layer of chocolate ganache on the tart crust, if you are so inclined. Like I said up top, I'm still working out the measurements for my magical less-fat ganache, so I didn't include the recipe. The tart is certainly still delicious without it.
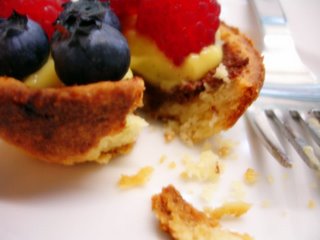
After the ganache, carefully spread the cooled pastry cream on the tart. Top with any fresh berries you can get your hands on, and serve to your adoring guests. If you want to be extra fancy, you can brush a little melted apricot jelly over the fruit to make it look all shiny and professional.
This one's worth every second of work, folks.
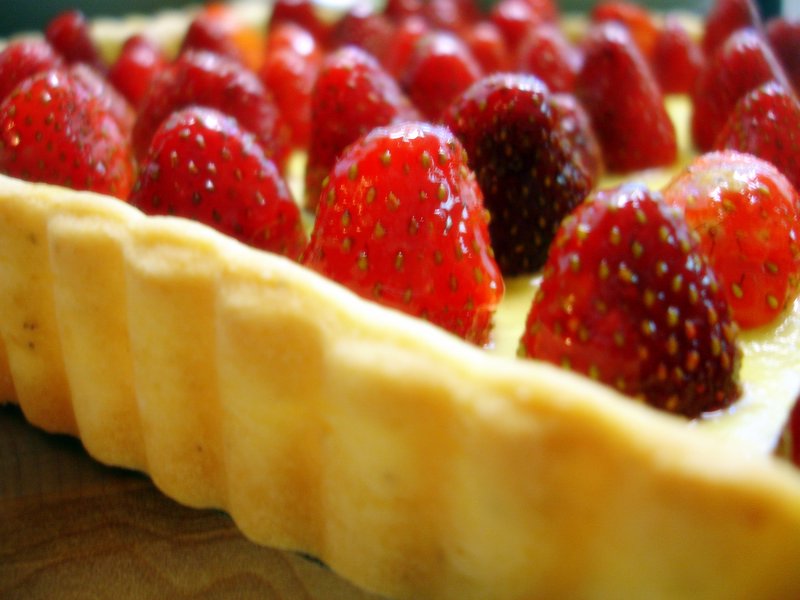
Now, since I wrote last I have finally acquired a food processor, and my life in the kitchen has honestly changed. I used it twice the day I bought it, and have used it multiple times a week since then. The best thing about it, so far, is the improvement my pie crusts have seen. People, I have made the perfect pie crust. And lo, it is good.
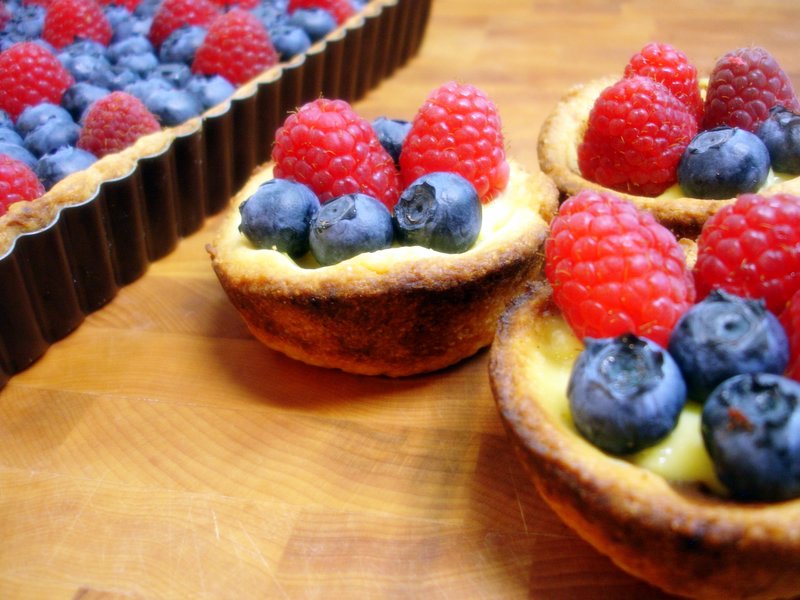
Along with the fancy food processor I picked up an adorable square tart pan and some exceedingly good vanilla beans. The tart pan inspired some sort of tart mania that has resulted in some very rich creations, and what appears to be a budding pot belly. I've had to take up swimming just to counter the Tart Problem.
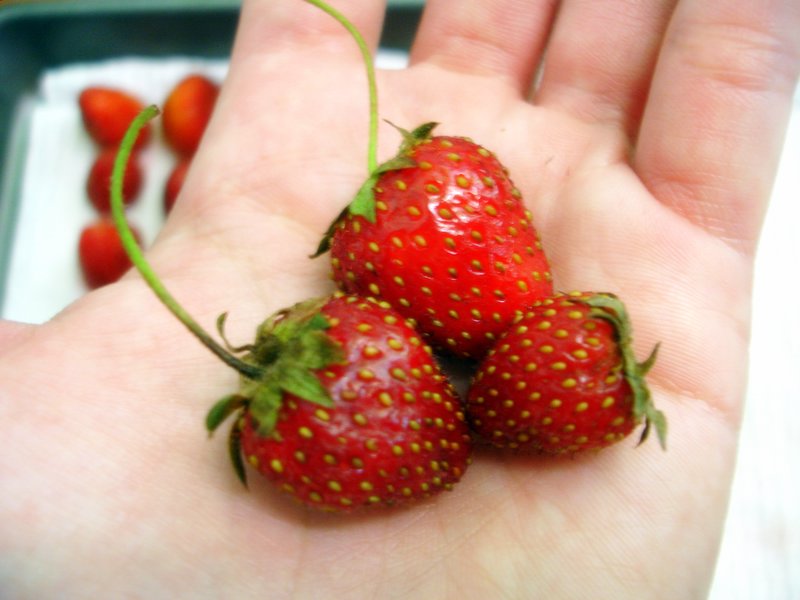
The whole reason I was inspired to get on this tart kick was because of these tiny strawberries. I defy anyone that likes strawberries to not freak out a little upon seeing these fingernail-sized specimens. I made my first stab at pastry cream (good, but too thick and gummy in texture), and attempted a pie crust idea that lived in my wee noggin. The crust was fine, it wasn't exactly tender and tasted more like cornbread than I preferred, but it was serviceable and didn't reduce me to tears. Altogether the tart was well received and eaten in approximately 11 minutes by our friends.

But I was not satisfied!
And so, I tried again. This time, I took the pie crust idea in my head and merged it with a recipe from this month's issue of Fine Cooking. The result was magnificent--flaky and crisp with this almost buttermilk flavor that made me swoon. The pastry cream was perfect, too--firm enough to hold up to slicing, but delightfully rich and oozy (and boozy, for that matter). I am still perfecting the measurements for my ground breaking "less fat" chocolate ganache, so you can either use your own recipe or skip it all together. You really can't go wrong.
When I test out a new recipe on people (the first at a Memorial Day party, the second at a gathering of Knoxville food bloggers), I always make some miniatures so that I can test things and make sure they are not poison. For these sweet babies I cut out circles of dough with a large drinking glass and carefully lined a muffin tin with them. To weigh down the crust, you can use a muffin liner and pie weights (I use rice) to good effect. You can make this gorgeous tart with any combination of seasonal berries.

Mixed Berry Tart
with thanks to Fine Cooking magazine
for the crust:
1.75 cups all-purpose flour
2 Tbsp cornmeal
12 Tbsp chilled butter, cut into chunks
1 egg, beaten
2 Tbsp sugar
1 Tbsp milk
2 tsp lemon juice
pinch salt (if you use salted butter, do not add salt)
In a food processor, combine all ingredients and pulse until the dough has begun to form big clumps (you want to go past the pea sized clumps and really incorporate the dough). Roll out a large piece of cling wrap and carefully dump the dough out onto it--the dough will seem a little loose and dry. Using your hands, press the dough into a compact patty and chill for 15 minutes.
After removing the dough from the refrigerator, let it sit for a few minutes. You want the dough to be cool, but not so cold that it cracks when you try to roll it out. Roll out to your desired thickness and shape, and place in a tart pan.
Preheat oven to 400 degrees. Using a fork, poke some holes in the bottom of the pie crust. Carefully line the crust with aluminum foil or parchment paper, and fill with pie weights (or dried beans or rice). Bake for roughly 25 minutes, until the edges are a deep golden brown. Remove from oven and let cool on a metal rack. Be careful when removing the pie weights, they can get pretty hot.

for the rum-vanilla pastry cream:
1.25 cups milk (I use 1%)
half of a vanilla bean, split down the middle
3 large egg yolks
.25 cups sugar
3 Tbsp flour
2 scant Tbsp cornstarch
1 Tbsp spiced rum (or liqueur of your choice)
Place milk and vanilla bean in a medium saucepan and bring to a low boil. While the milk is heat, whisk together the egg yolks and sugar, then add the flour and cornstarch. This mixture will be pretty thick. Once milk has reached a boil, remove from heat and remove vanilla bean. Scrape vanilla seeds out and add to egg mixture (you can use the dried vanilla pod to make vanilla sugar). Slowly temper the egg mixture by whisking in the hot milk, a few spoonfuls at a time.

Once the milk is mixed into the egg mixture, pour back into the saucepan. Cook over medium heat, whisking constantly, until the mixture comes to a boil. It will thicken very quickly, so keep an eye on it and keep whisking. Once the mixture has thickened to a pudding-like consistency, remove from heat and whisk in your liqueur (the liqueur is optional, of course). Pour into a bowl and press cling wrap down on the cream to prevent a skin from forming. Let cool completely.
To assemble tart, spread a layer of chocolate ganache on the tart crust, if you are so inclined. Like I said up top, I'm still working out the measurements for my magical less-fat ganache, so I didn't include the recipe. The tart is certainly still delicious without it.

After the ganache, carefully spread the cooled pastry cream on the tart. Top with any fresh berries you can get your hands on, and serve to your adoring guests. If you want to be extra fancy, you can brush a little melted apricot jelly over the fruit to make it look all shiny and professional.
This one's worth every second of work, folks.
Thursday, May 18, 2006
I'm on vacation this week...
...but I'm still cooking! Butter poached lobster tails, anyone?

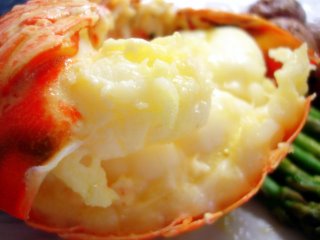

I'll be back next week with vacation tales and birthday adventures!
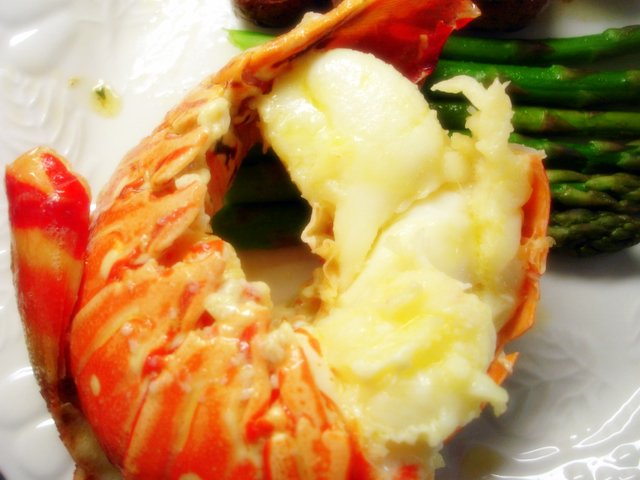

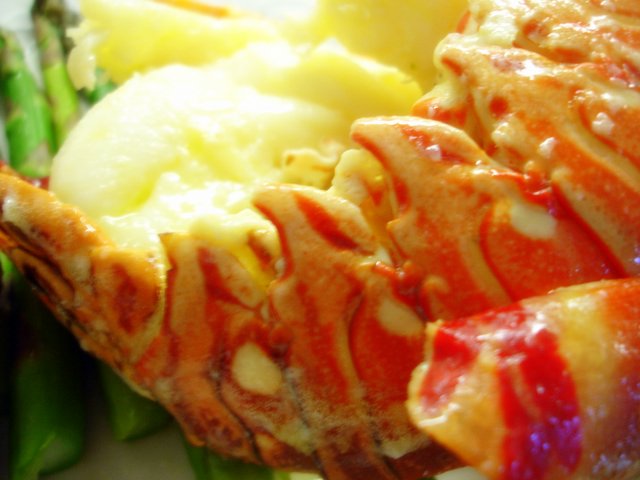
I'll be back next week with vacation tales and birthday adventures!
Wednesday, April 26, 2006
What I've been up to.
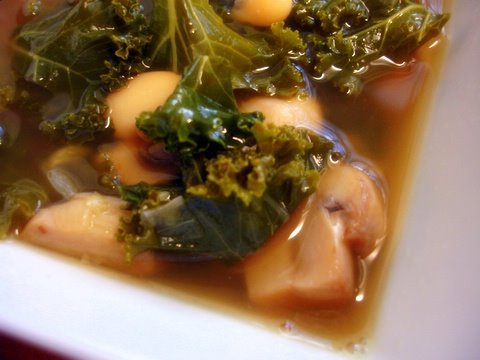
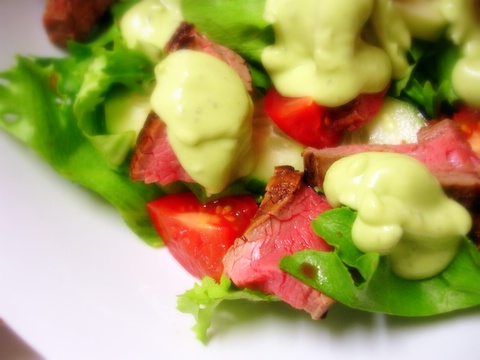
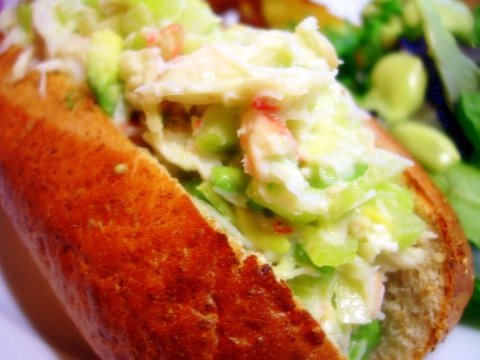
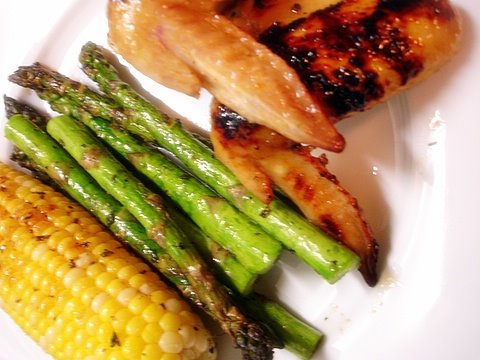
Hi! HI! Can you see me over here, waving frantically? Have you taken note of the apologetic look in my eye, the air of contrition around me? Or have I been gone so long that no one bothers to check in anymore? I'm terribly sorry. The illness I referred to last week let up right as I had to leave town for a wedding. Upon returning from the wedding in Florida, I was blessed with a visit from my best friend, who lives in London. With her I've been enjoying the spring weather and blatantly shirking my writing responsibilities. I've been cooking, yes, but I've also been blissfully NOT writing about it. I have taken a few pictures over the past few days, and so, in preparation for a real entry (and to try and coax some readers back), I give you lots and lots of pretty pictures. Okay? Okay.
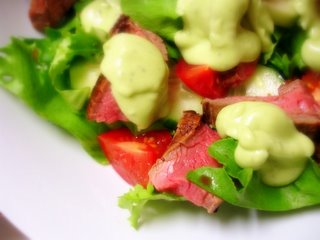

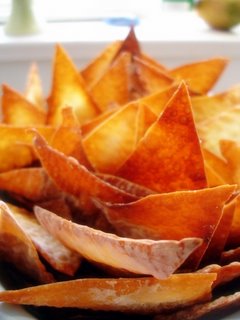
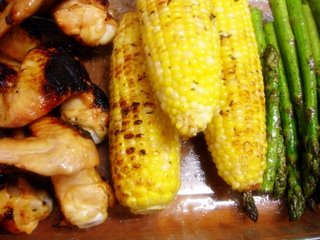

Lastly, this is what Buster thinks about this new, dreary weather:

And, one more thing, I'm afraid that I will not be posting with quite the regularity that you may be accustomed to, at least for several weeks. I have some exciting projects that are going to demand more and more of my time, and while I can't go into them just yet, I promise that I'm not just slacking. Promise.



Lastly, this is what Buster thinks about this new, dreary weather:

And, one more thing, I'm afraid that I will not be posting with quite the regularity that you may be accustomed to, at least for several weeks. I have some exciting projects that are going to demand more and more of my time, and while I can't go into them just yet, I promise that I'm not just slacking. Promise.

Tuesday, April 18, 2006
Where Oh Where Has The Unemployed Cook Been?
Well, for a few days I was buried under some other projects, and then the holiday weekend came and everything I made (caramel popcorn, white bean dip with wonton chips, and picnic salad), were things I had made before, and then...
And THEN...
I got sick. Really, really up-all-night-with-gastro-intestinal-distress sick. And so, once I can look at anything more complicated than soda crackers (today, I'm trying rice!), I will be back, regaling you with stories and recipes alike, I promise.
And THEN...
I got sick. Really, really up-all-night-with-gastro-intestinal-distress sick. And so, once I can look at anything more complicated than soda crackers (today, I'm trying rice!), I will be back, regaling you with stories and recipes alike, I promise.
Sunday, April 02, 2006
Apologies (and BLEATs!)
I'm sorry I've been such an errant writer this past week. I have had two things against me:
1. The end of the month is an extra-lean time for us, which means cooking from the pantry and primarily making tried-and-true staples that I've already written about.
2. The weather has been gorgeous, and Chris and I have spent many exhausting hours working on our yard. When we bought this house we were blessed with a triple lot that was, unfortunately, covered in honeysuckle, ivy, and other nefarious vines.
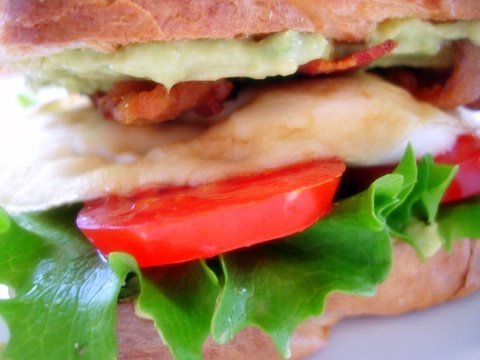
And so, not as much cooking. I am, however, writing about the delicious dinner that we just had, and have big plans this week for more fun things, so don't give up on me yet. Until then, I leave you with my BLEATs.
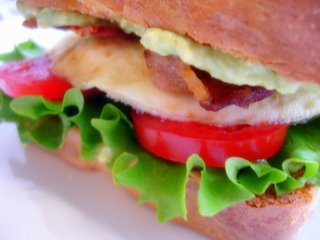
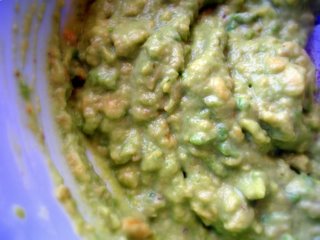
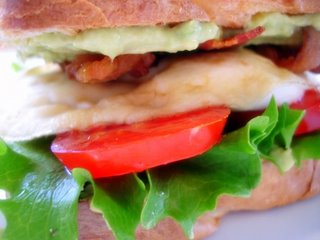
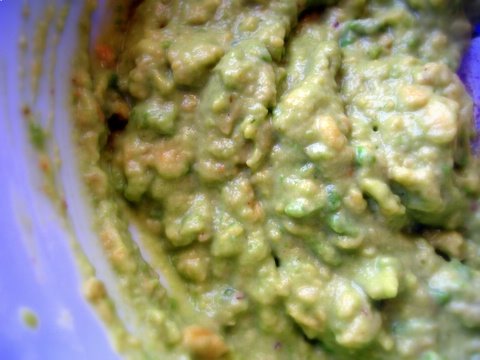
What is a BLEAT? It's simply a Bacon, Lettuce (from the garden!), fried egg, avocado, and tomato sandwich, served up on toasted homemade bread. I made Lemon Avocado Mayo this time around, mashing avocado with lemon juice, mayonnaise, and salt and pepper to taste; and it was quite frankly the best sandwich topping I can think of. I think avocados are one of my most favorite foods. More to come!
1. The end of the month is an extra-lean time for us, which means cooking from the pantry and primarily making tried-and-true staples that I've already written about.
2. The weather has been gorgeous, and Chris and I have spent many exhausting hours working on our yard. When we bought this house we were blessed with a triple lot that was, unfortunately, covered in honeysuckle, ivy, and other nefarious vines.
And so, not as much cooking. I am, however, writing about the delicious dinner that we just had, and have big plans this week for more fun things, so don't give up on me yet. Until then, I leave you with my BLEATs.

What is a BLEAT? It's simply a Bacon, Lettuce (from the garden!), fried egg, avocado, and tomato sandwich, served up on toasted homemade bread. I made Lemon Avocado Mayo this time around, mashing avocado with lemon juice, mayonnaise, and salt and pepper to taste; and it was quite frankly the best sandwich topping I can think of. I think avocados are one of my most favorite foods. More to come!
Subscribe to:
Posts (Atom)